
iOS Location Services in Swift
December 31, 2018
Have you ever used Location Services in iOS? Do you use them often enough to remember how to do it? If you answered no to either of these questions and you’re trying to use location services, then read on.
Scope
This is not meant to be a comprehensive guide to Location Services, but a “getting started” guide as a developer that is new to Location Services. We’ll also be looking at a single use case of location services: obtaining the highest quality location data (aka: highest battery consuming). We’ll be moving relatively quickly, but there is a reference project that you can download and try for yourself.
Note: I maintain a library (GeoTrackKit) that does much of this already and adds a bunch of utilities on top of the location services, but there are still steps you need to take in your own application when integrating this library.
Strategy
In principle, it’s pretty easy, you do the following:
- Update your
Info.plistfile to enable location servicesNote:there are 3 possible keys that you can use 1, two or all of themNSLocationWhenInUseUsageDescription- The description for why you want to use location services for when the app is in useNSLocationAlwaysUsageDescription- The description for why you want to use location services “Always”NSLocationAlwaysAndWhenInUseUsageDescription- The description of why you want to use Location Services (for legacy iOS versions that don’t support both a separate setting forWhen In UseandAlways)
- When appropriate, request permission to use location services
Note:there are 2 modes:When in useandAlways
- After the authorization callback notifies you that you have been granted access, configure the
LocationManagerand begin tracking.
Code Walkthrough
In this code walkthrough we’re going to build a sample application that uses location services. This application will have the following capabilities:
- Request Access to Location Services
- Open settings if access to Location Services were denied
- If Access to Location Services is granted:
- Start tracking the user’s location
- Display the location information on the screen (when tracking)
- Allows the user to stop tracking if they are currently tracking
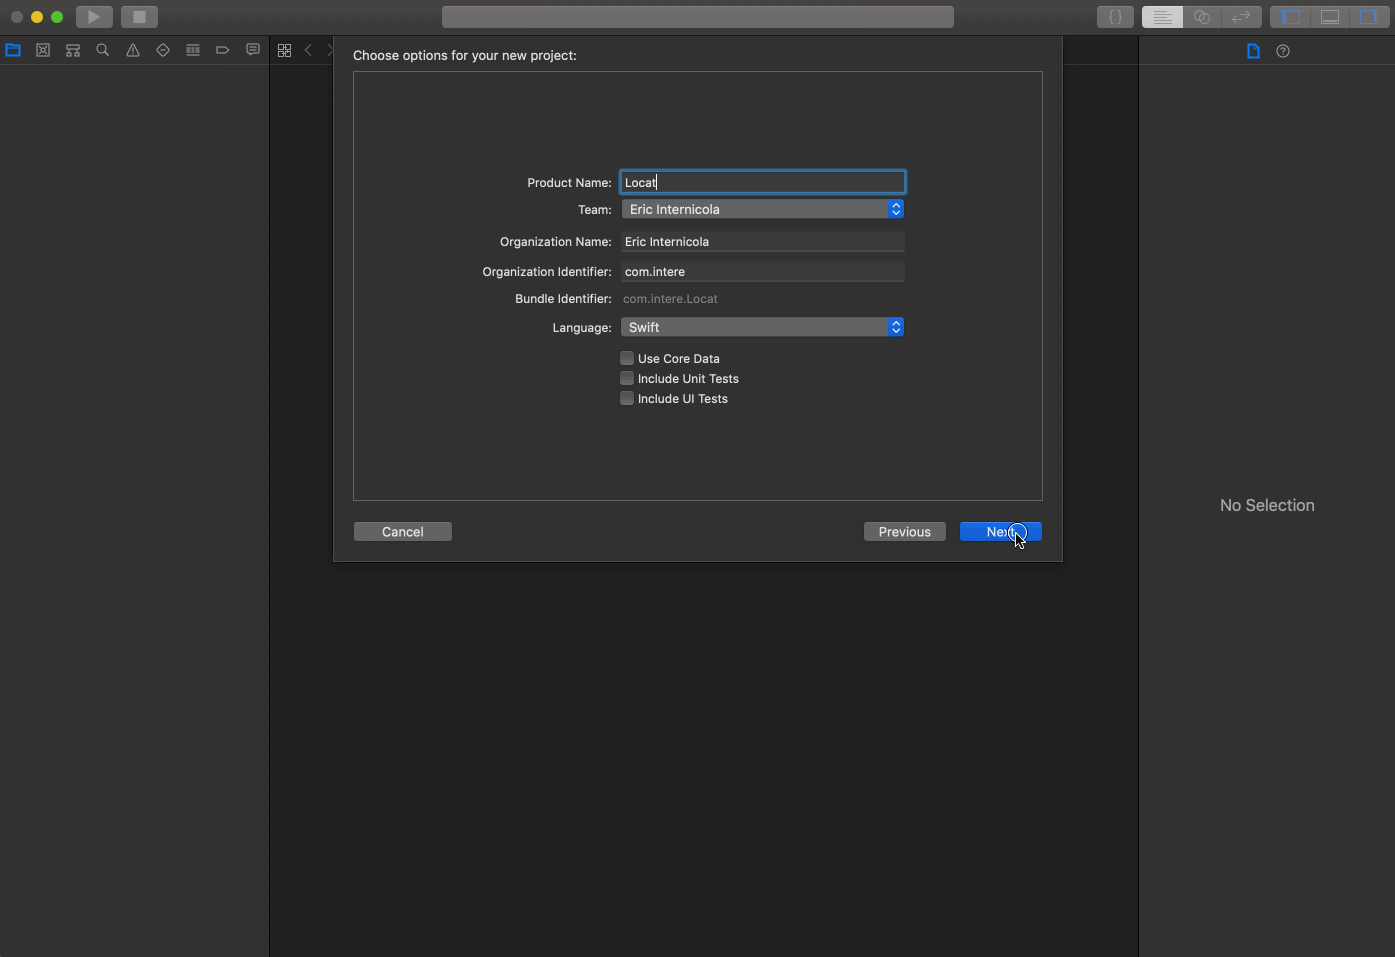
1. Create a new project:
2. Update Info.plist
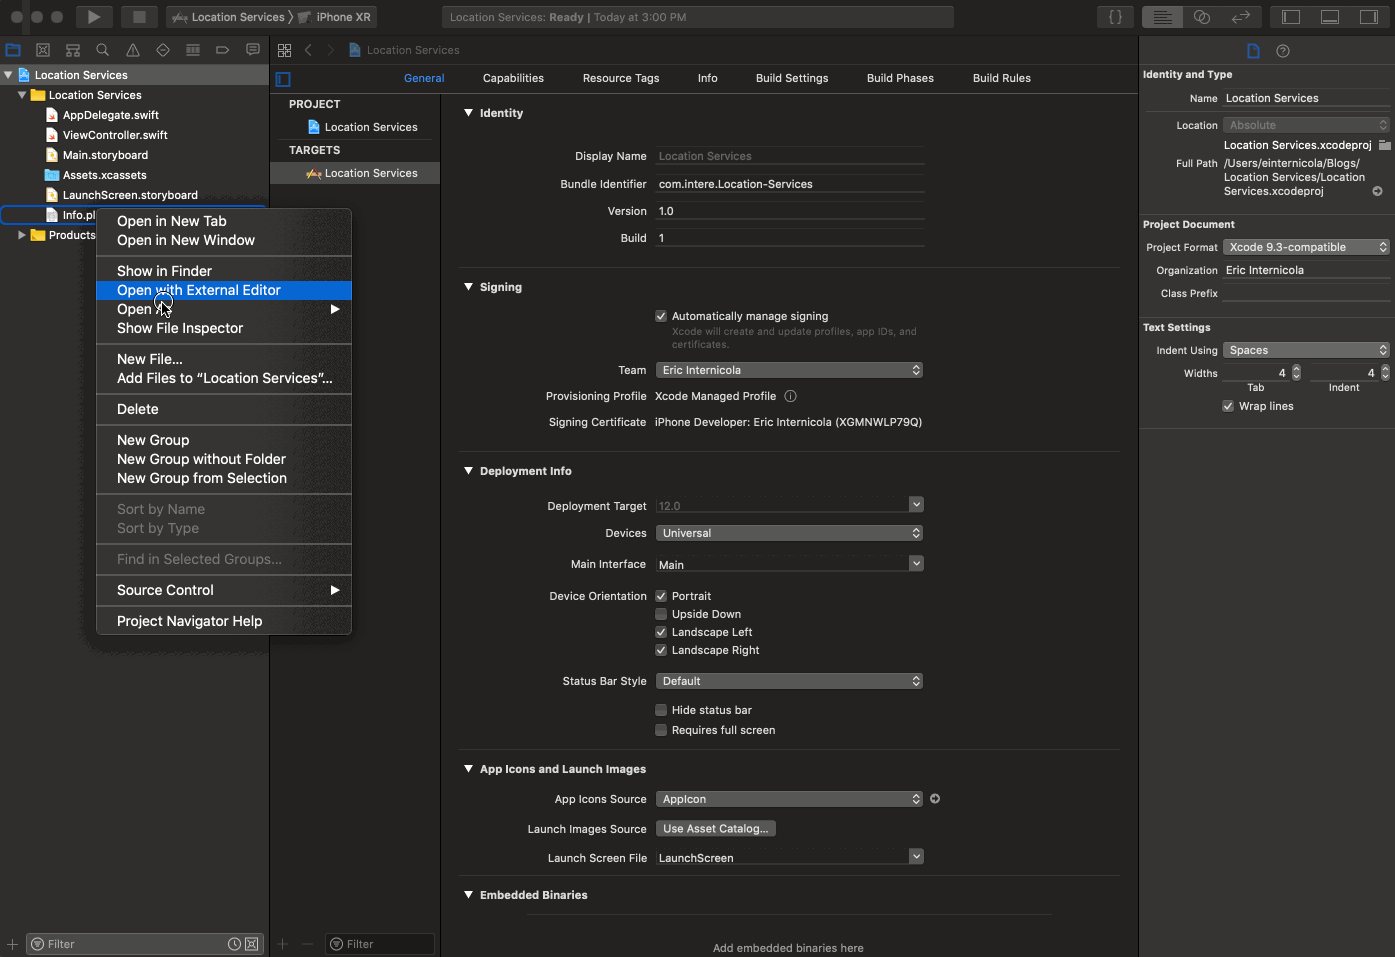 Add the following to Info.plist:
<key>NSLocationWhenInUseUsageDescription</key>
<string>Your location will be used to demonstrate location services when the application is in use.</string>
NOTE: if you do not add the above line, when you request location services authorization, your app will be terminated.
3. Location Services Authorization State
 There are numerous authorization states in Location Services, so let’s distill it down to a few simplified states using our own enumeration,
 LocationAuthorizationState:
/// The current Location Services Authorization state
enum LocationAuthorizationState: String {
    case unknownAuthorization
    case deniedAuthorization
    case approvedAuthorization

    /// Distills the current location authorization status down to three
    /// simple states:
    static var current: LocationAuthorizationState {
        switch CLLocationManager.authorizationStatus() {
        case .notDetermined:
            return .unknownAuthorization

        case .denied, .restricted:
            return .deniedAuthorization

        case .authorizedAlways, .authorizedWhenInUse:
            return .approvedAuthorization
        }
    }
}
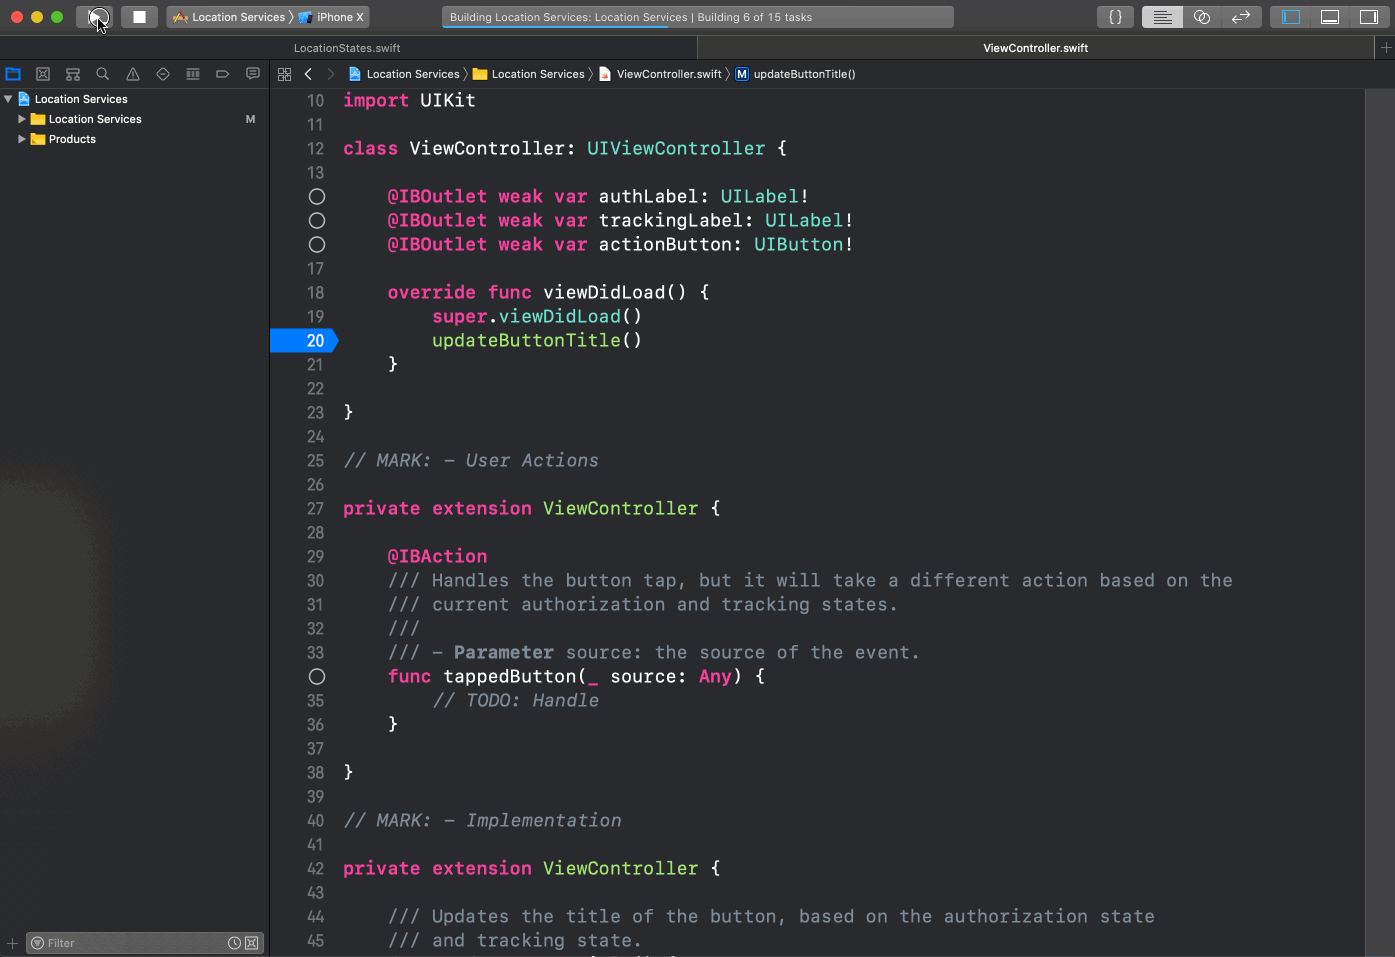
Then, we set the text of our button, based on the current authorization state from the ViewController:
/// Updates the title of the button, based on the authorization state
/// and tracking state.
func updateButtonTitle() {
    switch LocationAuthorizationState.current {
    case .approvedAuthorization:
        // TODO: set it based on whether or not we're tracking (start / stop)
        actionButton.setTitle("Track", for: .normal)

    case .unknownAuthorization:
        actionButton.setTitle("Request Access", for: .normal)

    case .deniedAuthorization:
        actionButton.setTitle("Open Settings", for: .normal)
    }
}
4. Request Location Authorization
First, Add a CLLocationManager to our ViewController:
let manager = CLLocationManager()
Next, set the manager’s delegate to be our ViewController inside viewDidLoad():
manager.delegate = self
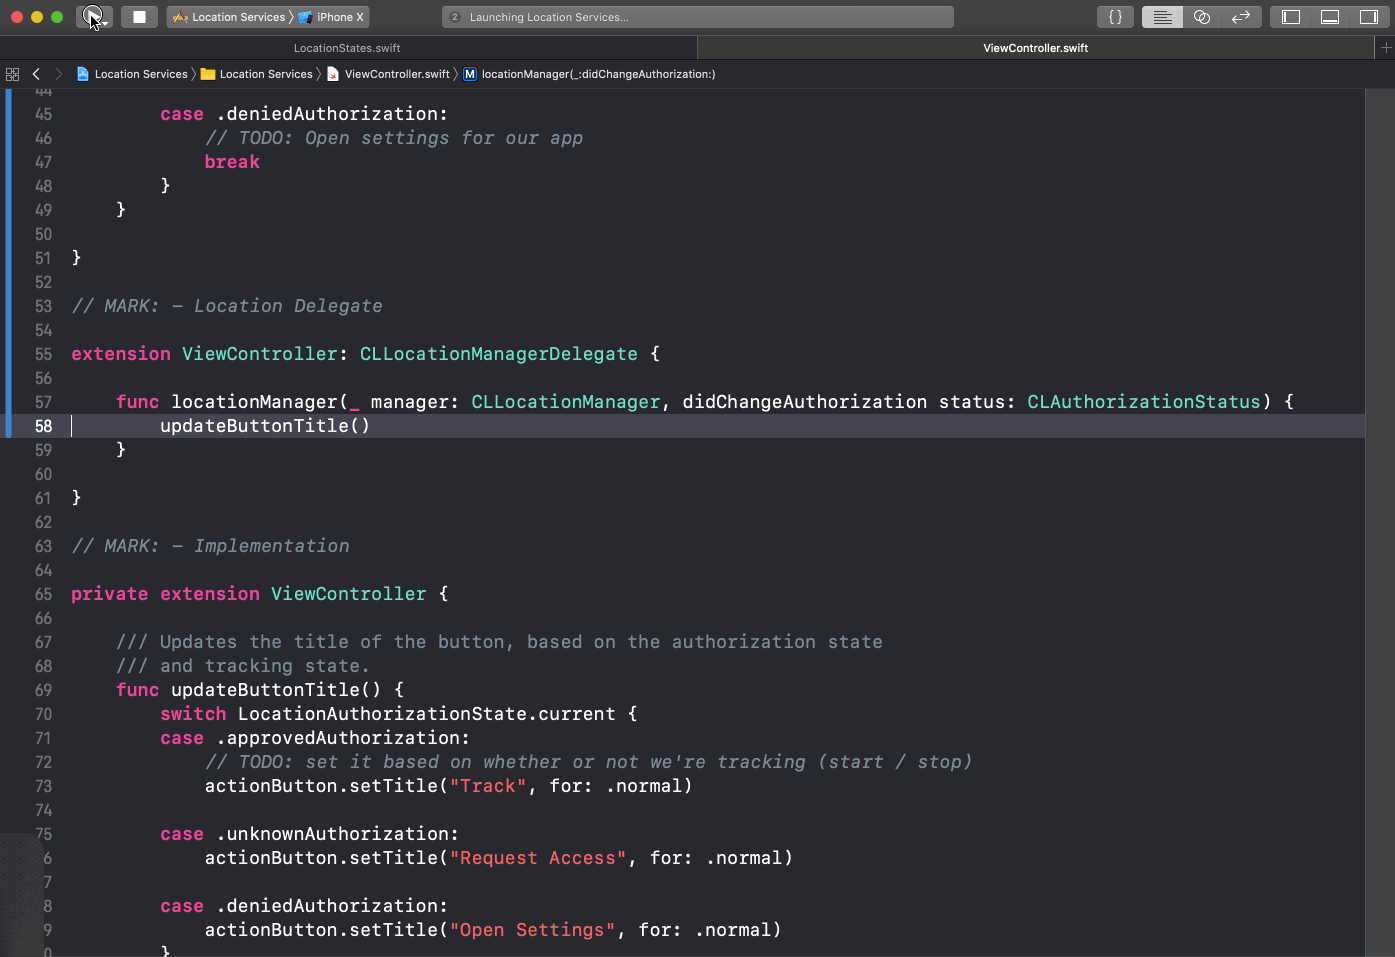
Next, conform our ViewController to the CLLocationManagerDelegate and implement the locationManager(_:didChangeAuthorization) function:
// MARK: - Location Delegate

extension ViewController: CLLocationManagerDelegate {

    func locationManager(_ manager: CLLocationManager, didChangeAuthorization status: CLAuthorizationStatus) {
        updateButtonTitle()
    }

}
5. Build in tracking / finish off proof of concept
First, add a boolean to keep track of whether we’re tracking or not:
private var tracking = false
Create a couple of helper functions to start / stop tracking for us (and configure location services)
/// Begin tracking
func startTracking() {
    tracking = true
    configureUpdates()
    manager.startUpdatingLocation()
}

/// Finish tracking
func stopTracking() {
    tracking = false
    manager.stopUpdatingLocation()
}

/// Configure the Location Manager for our trackign requirements
func configureUpdates() {
    manager.activityType = .fitness
    manager.desiredAccuracy = kCLLocationAccuracyBest
}
Create a helper function to open the settings for our app (in the case that the user has prevented access to location services):
/// Opens the system settings for our app
func openSettings() {
    guard let systemSettingsUrl = URL(string: UIApplication.openSettingsURLString) else {
        return
    }
    UIApplication.shared.openURL(systemSettingsUrl)
}
Refactor the updateButtonTitle function to be called updateUIState and make it update all of the UI components in our ViewController class:
/// Updates the title of the button, based on the authorization state
/// and tracking state.
func updateUIState() {
    switch LocationAuthorizationState.current {
    case .approvedAuthorization:
        authLabel.text = "Access approved by user"
        if tracking {
            actionButton.setTitle("Stop Tracking", for: .normal)
        } else {
            trackingLabel.text = "Not Tracking"
            actionButton.setTitle("Start Tracking", for: .normal)
        }

    case .unknownAuthorization:
        authLabel.text = "Access not yet requested"
        actionButton.setTitle("Request Access", for: .normal)

    case .deniedAuthorization:
        authLabel.text = "Access denied by user"
        actionButton.setTitle("Open Settings", for: .normal)
    }
}
Implement the locationManager(_:didUpdateLocations) function as part of the CLLocationManagerDelegate conformance:
func locationManager(_ manager: CLLocationManager, didUpdateLocations locations: [CLLocation]) {
    guard let lastPoint = locations.last else {
        return
    }
    trackingLabel.text = "\(lastPoint)"
}
And finally, update the tappedButton(_:) function to do the right thing:
func tappedButton(_ source: Any) {
    switch LocationAuthorizationState.current {
    case .unknownAuthorization:
        manager.requestWhenInUseAuthorization()

    case .approvedAuthorization:
        if tracking {
            stopTracking()
        } else {
            startTracking()
        }
        updateUIState()

    case .deniedAuthorization:
        openSettings()
    }
}
![]()
References
Sample Code
- Sample Code
- Written with swift 4.2 in Xcode 10.1
- GeoTrackKit